Managing Teams
Once you have joined a class, click View teams on the class card to open the Team Matching panel.
Team Matching Panel Overview
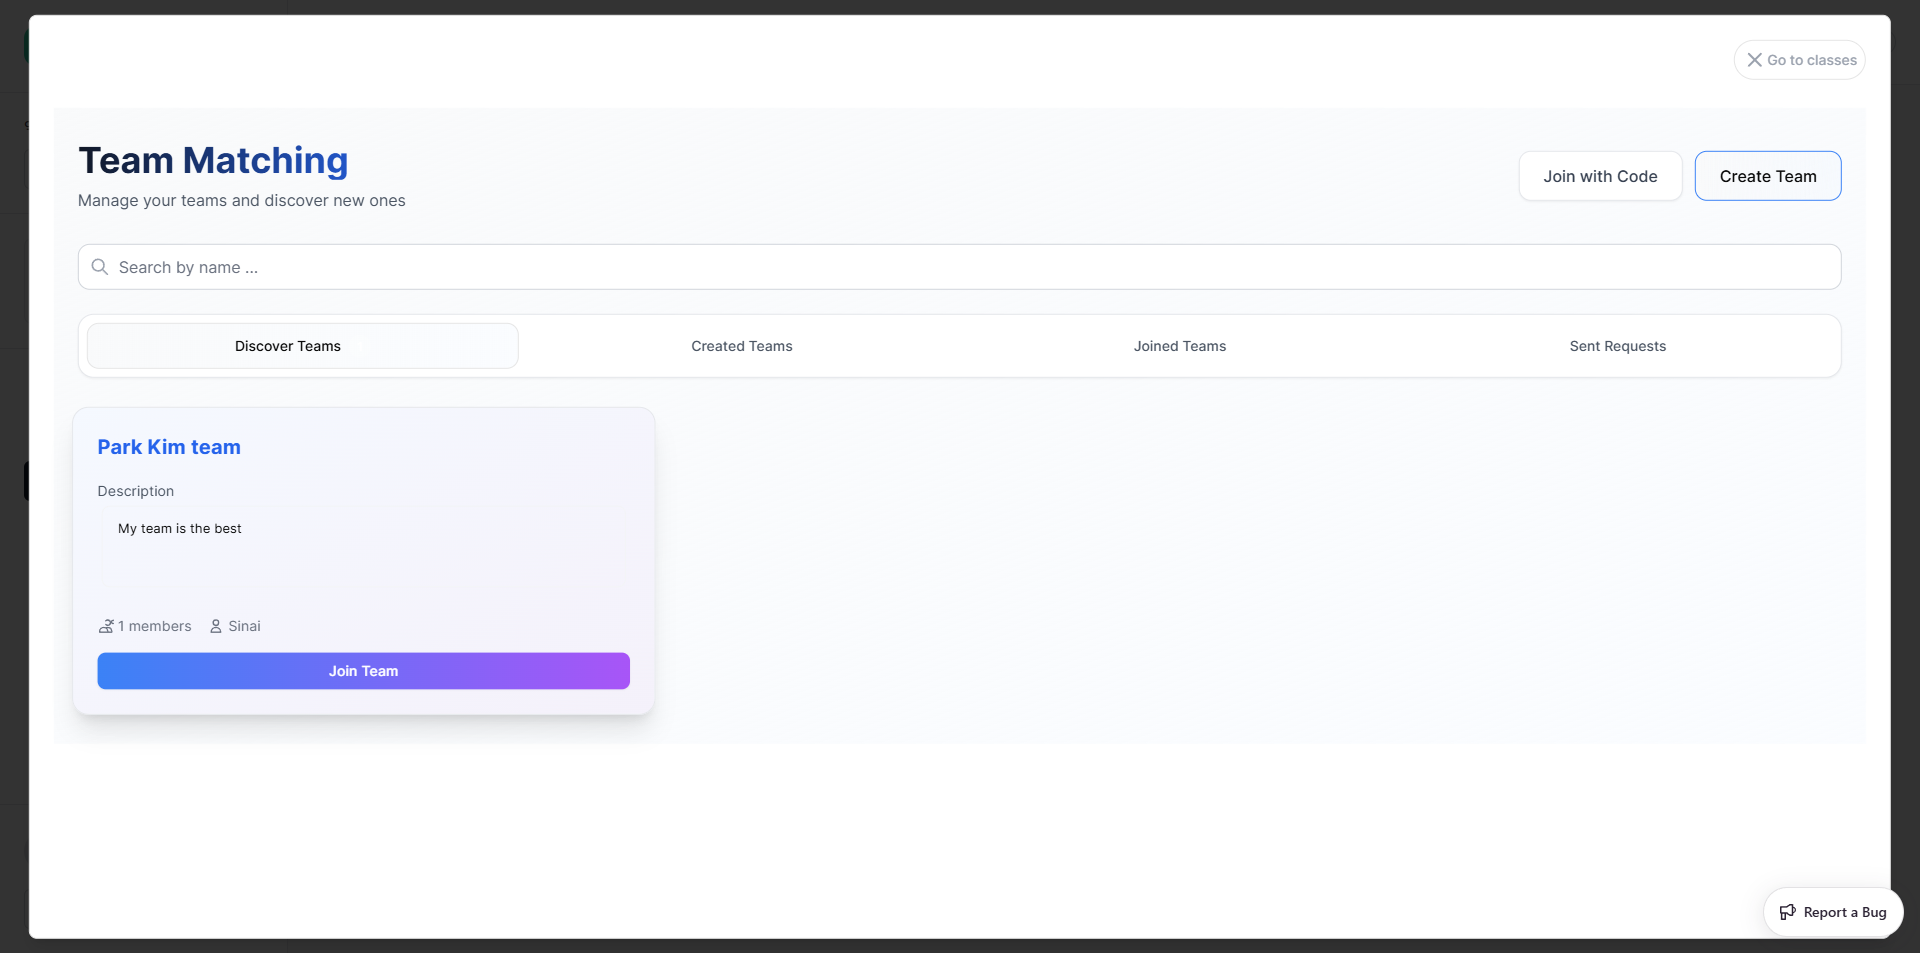
The panel has four tabs and two action buttons at the top:
| Tab | Description |
|---|---|
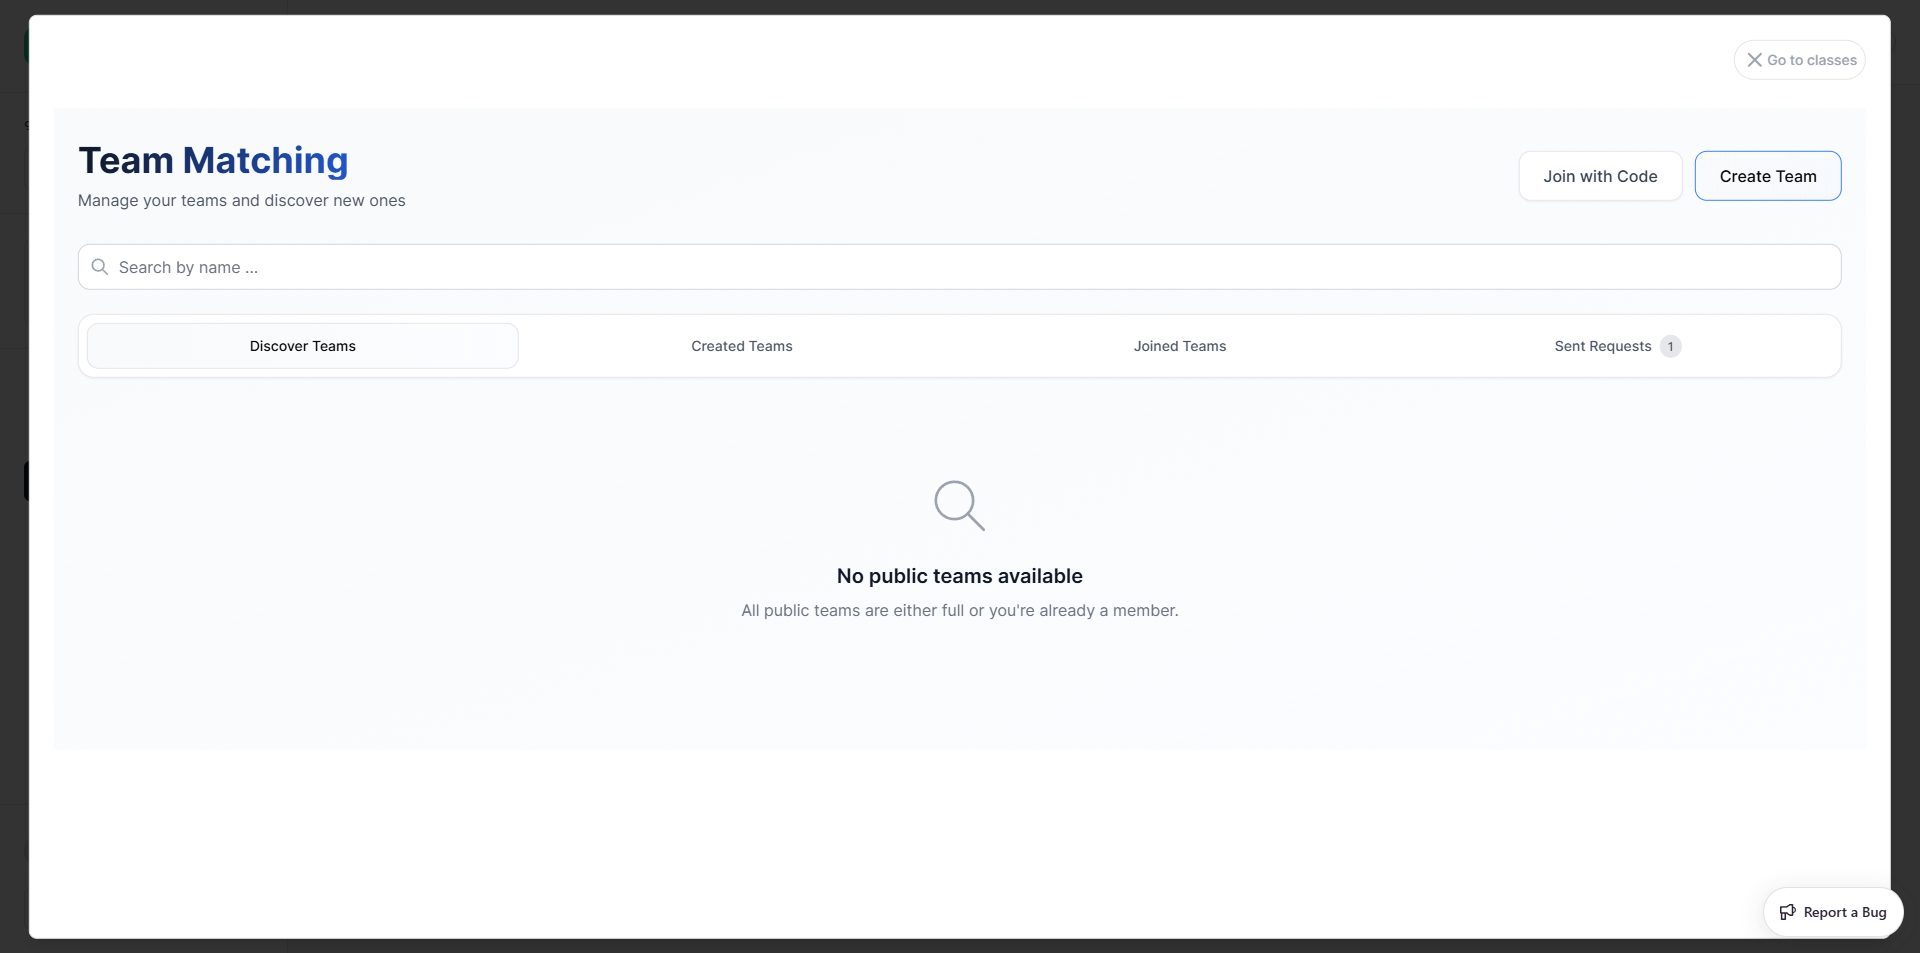
| Discover Teams | Browse all public teams available to join |
| Created Teams | Teams you have created |
| Joined Teams | Teams you are already a member of |
| Sent Requests | Pending join requests you have sent |
You can search teams by name using the search bar at the top.
Joining a Team
Option A — From Discover Teams
- Open the Discover Teams tab
- Browse team cards — each shows the team name, description, member count, and creator
- Click Join Team on the team you want to enter
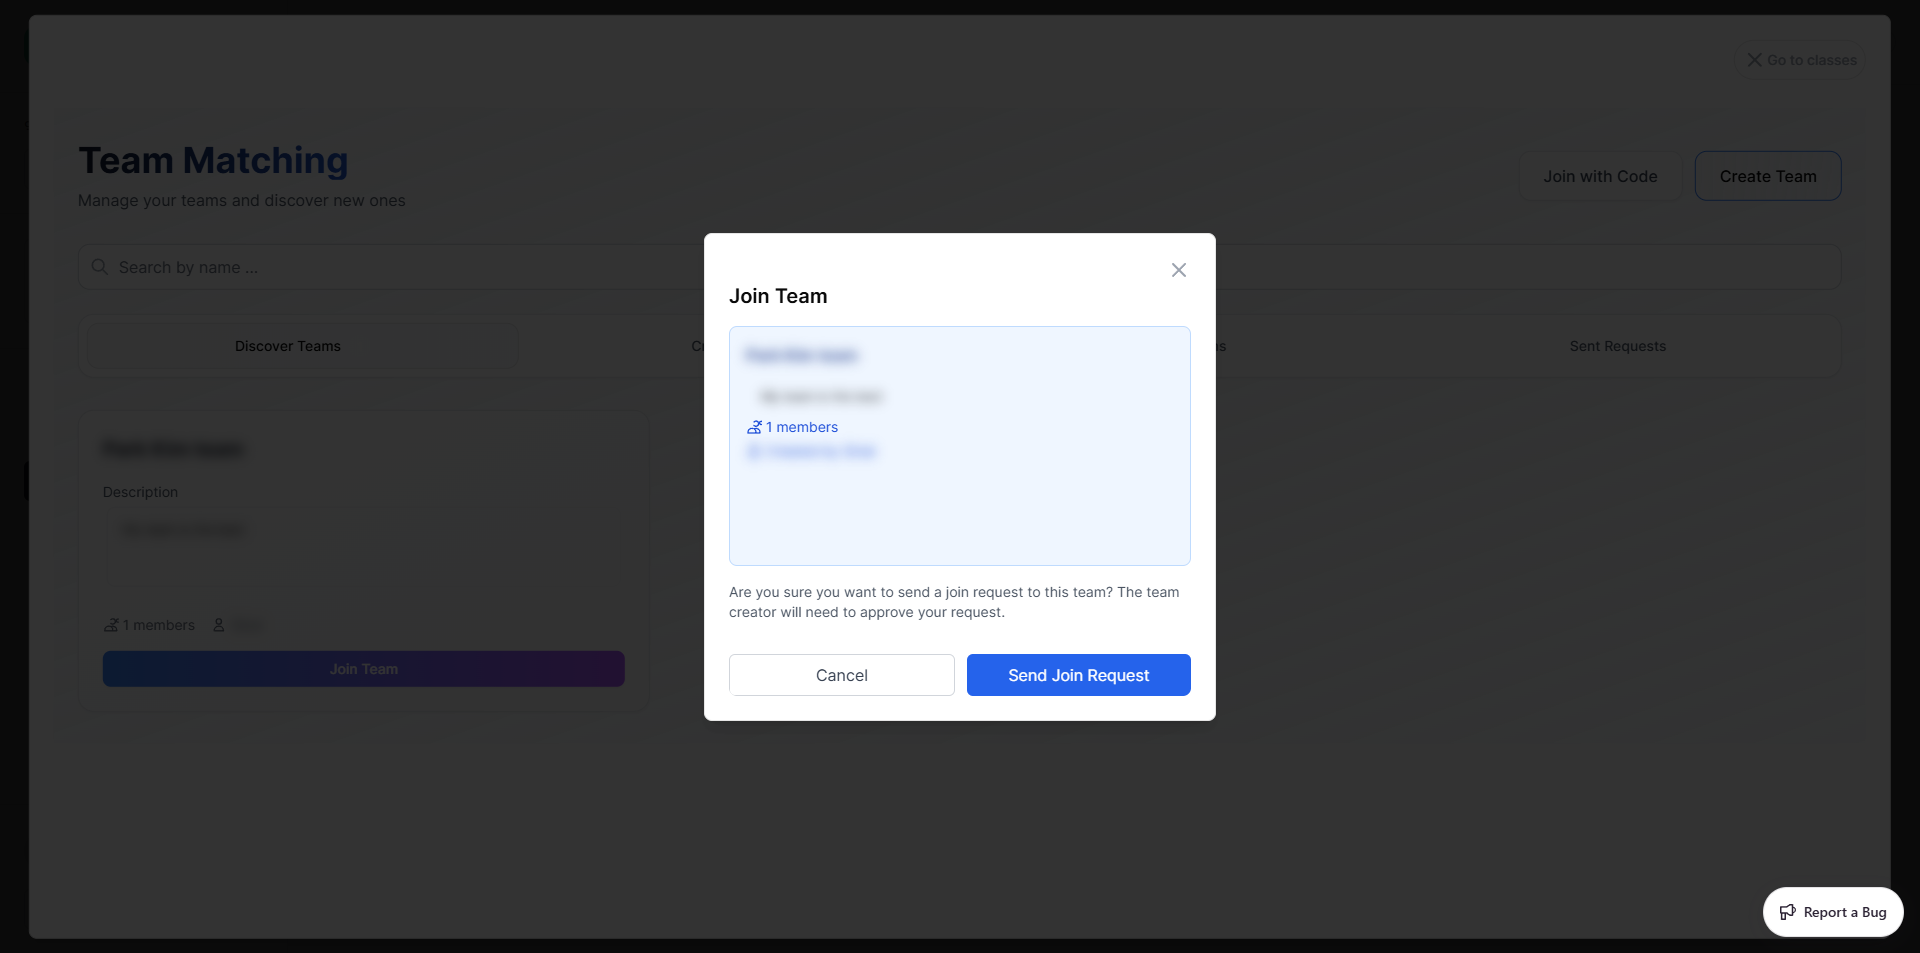
- A confirmation dialog shows the team details
- Click Send Join Request — the request is sent to the team creator for approval
Your request will appear in Sent Requests with a pending badge until the team leader approves or rejects it.
INFO
Joining a team requires approval from the team creator. You cannot join instantly unless directly added.
Option B — Join with Code
- Click Join with Code (top-right of the panel)
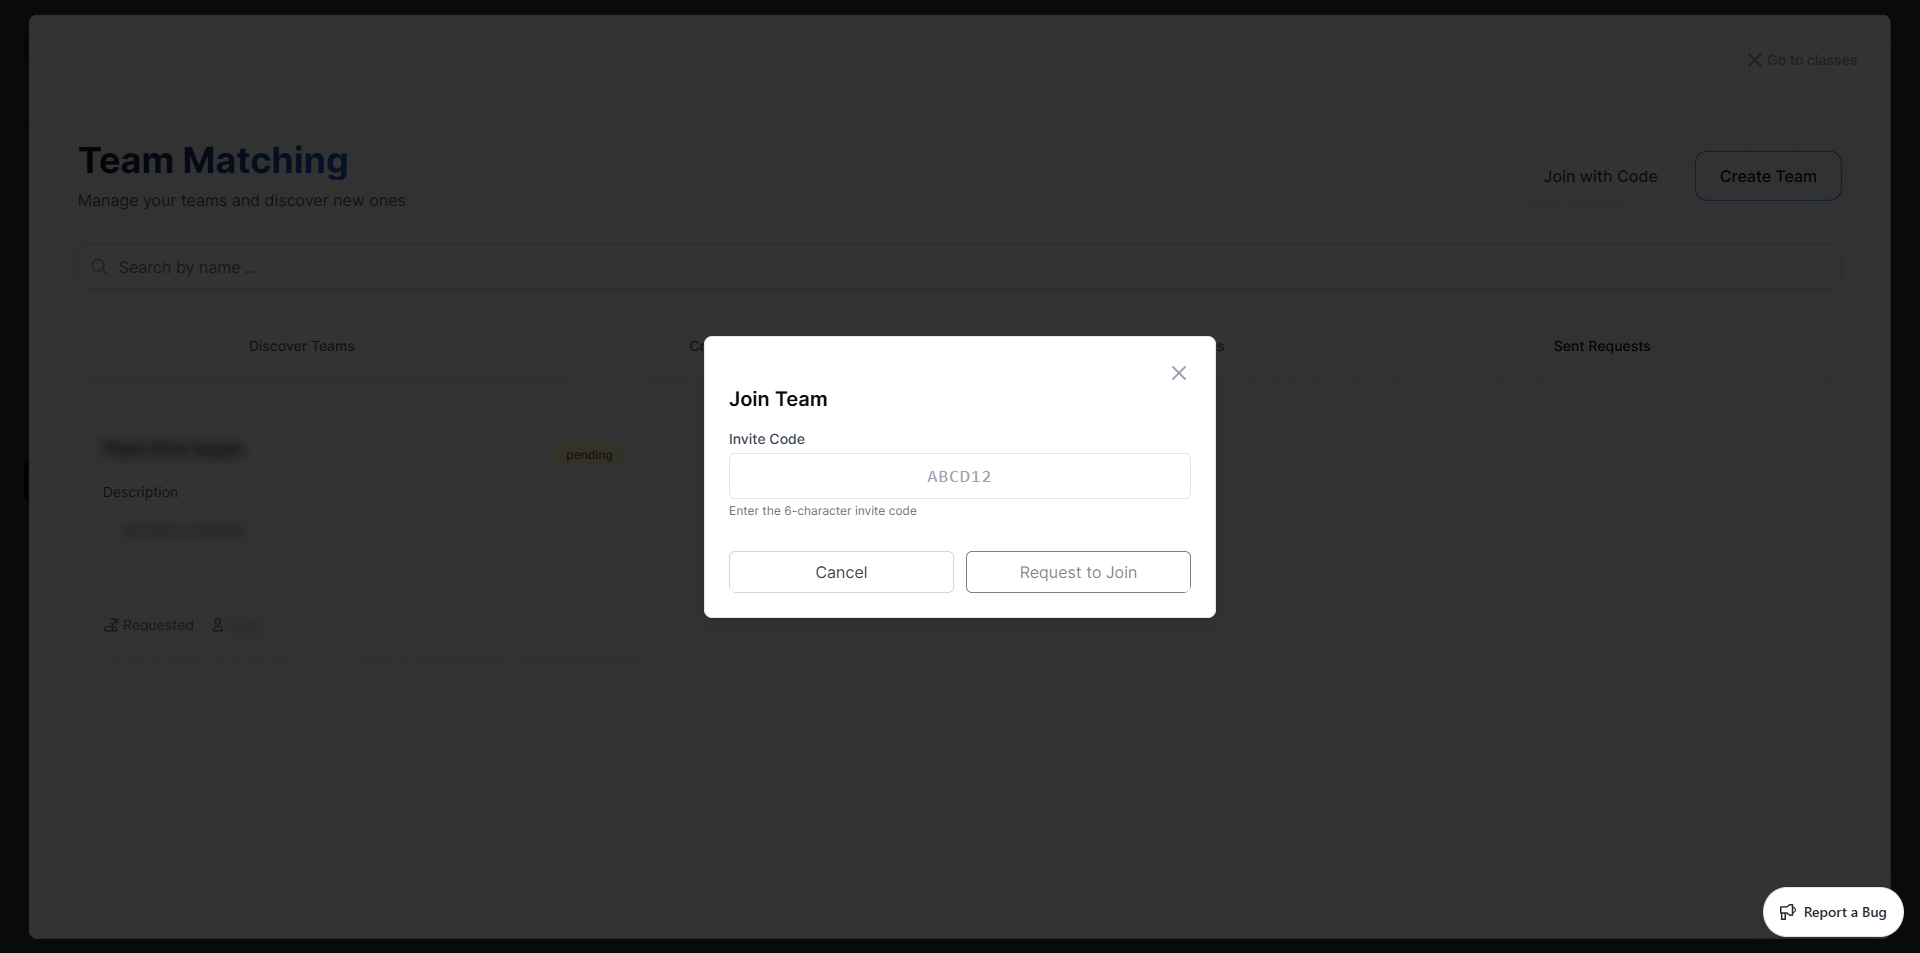
- Enter the 6-character invite code shared by the team leader
- Click Request to Join
Creating a Team
- Click Create Team (top-right of the panel)
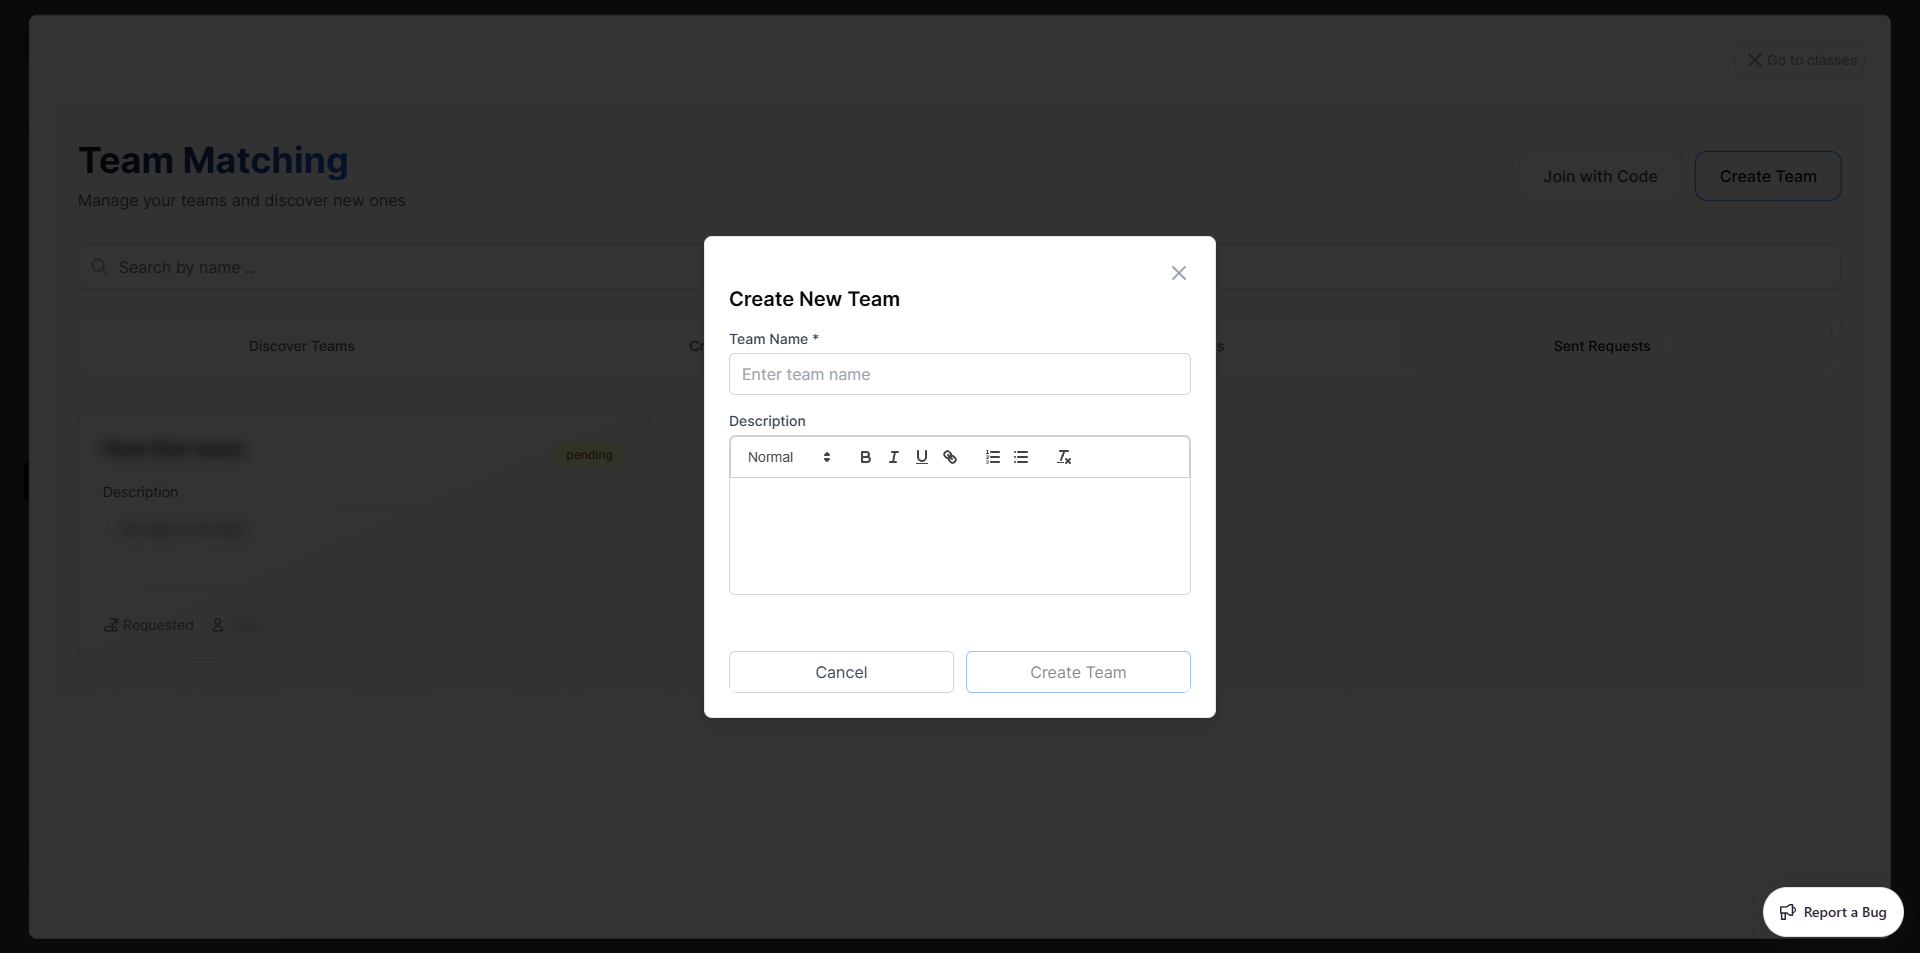
- Fill in the form:
| Field | Required | Description |
|---|---|---|
| Team Name | Yes | The name of your team |
| Description | No | Supports rich text — Bold, Italic, Underline, Links, Lists |
- Click Create Team — you automatically become the team leader
TIP
Once created, your team appears in Created Teams where you can manage members and approve incoming join requests.
Sent Requests Tab
The Sent Requests tab shows all pending requests you have sent to teams. Each card shows:
- Team name and description
- pending status badge
- Requested indicator and team creator's name
Inside a Team
After clicking Enter Team on a team card, you enter the team workspace. The top navigation shows five tabs:
| Tab | Available to | Description |
|---|---|---|
| Chat | All members | Real-time team chat |
| Documents | All members | Shared team documents |
| Members | All members | View member list and permissions |
| Requests | Leader only | Review and approve join requests |
| Settings | Leader only | Edit team info, invite code, delete team |
Chat
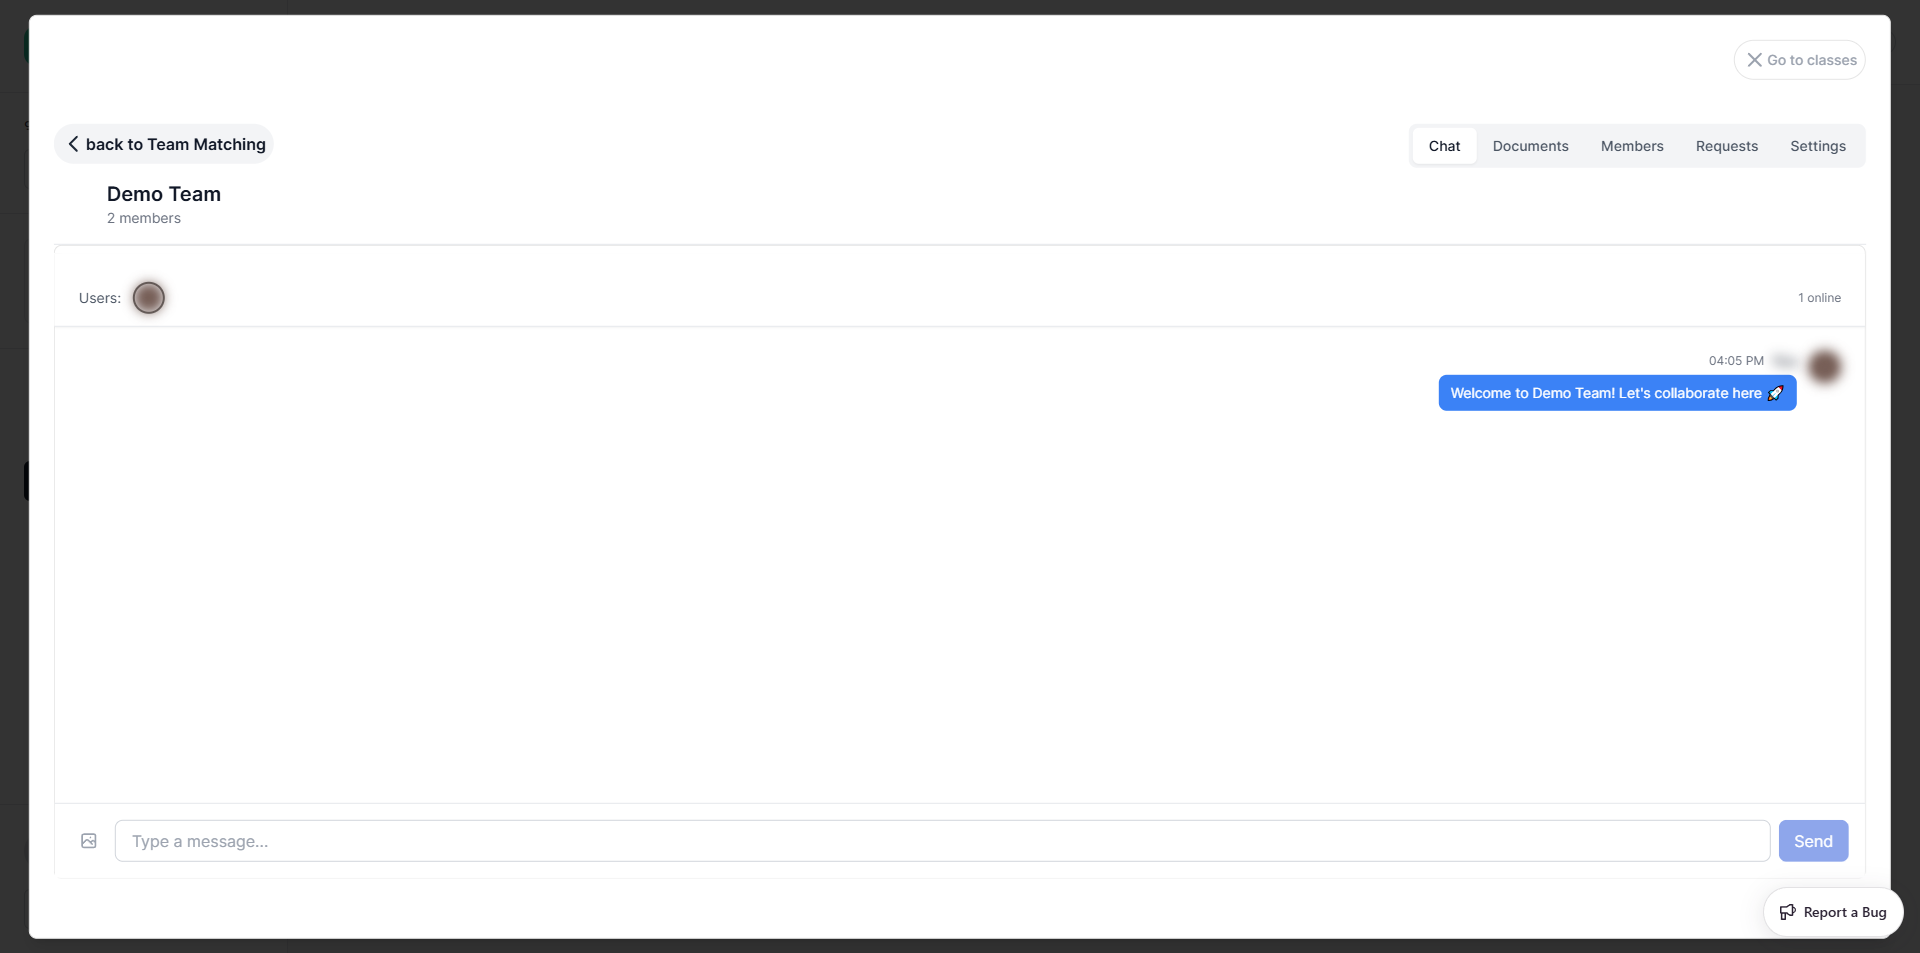
The Chat tab is a real-time messaging space for your team.
- Online members are shown as avatars at the top with a count (e.g. "1 online")
- Type a message in the text field at the bottom and press Enter or click Send
- The image attachment button (left of the text field) lets you send files
Messages appear with the sender's avatar, timestamp, and content. Your own messages appear on the right side.
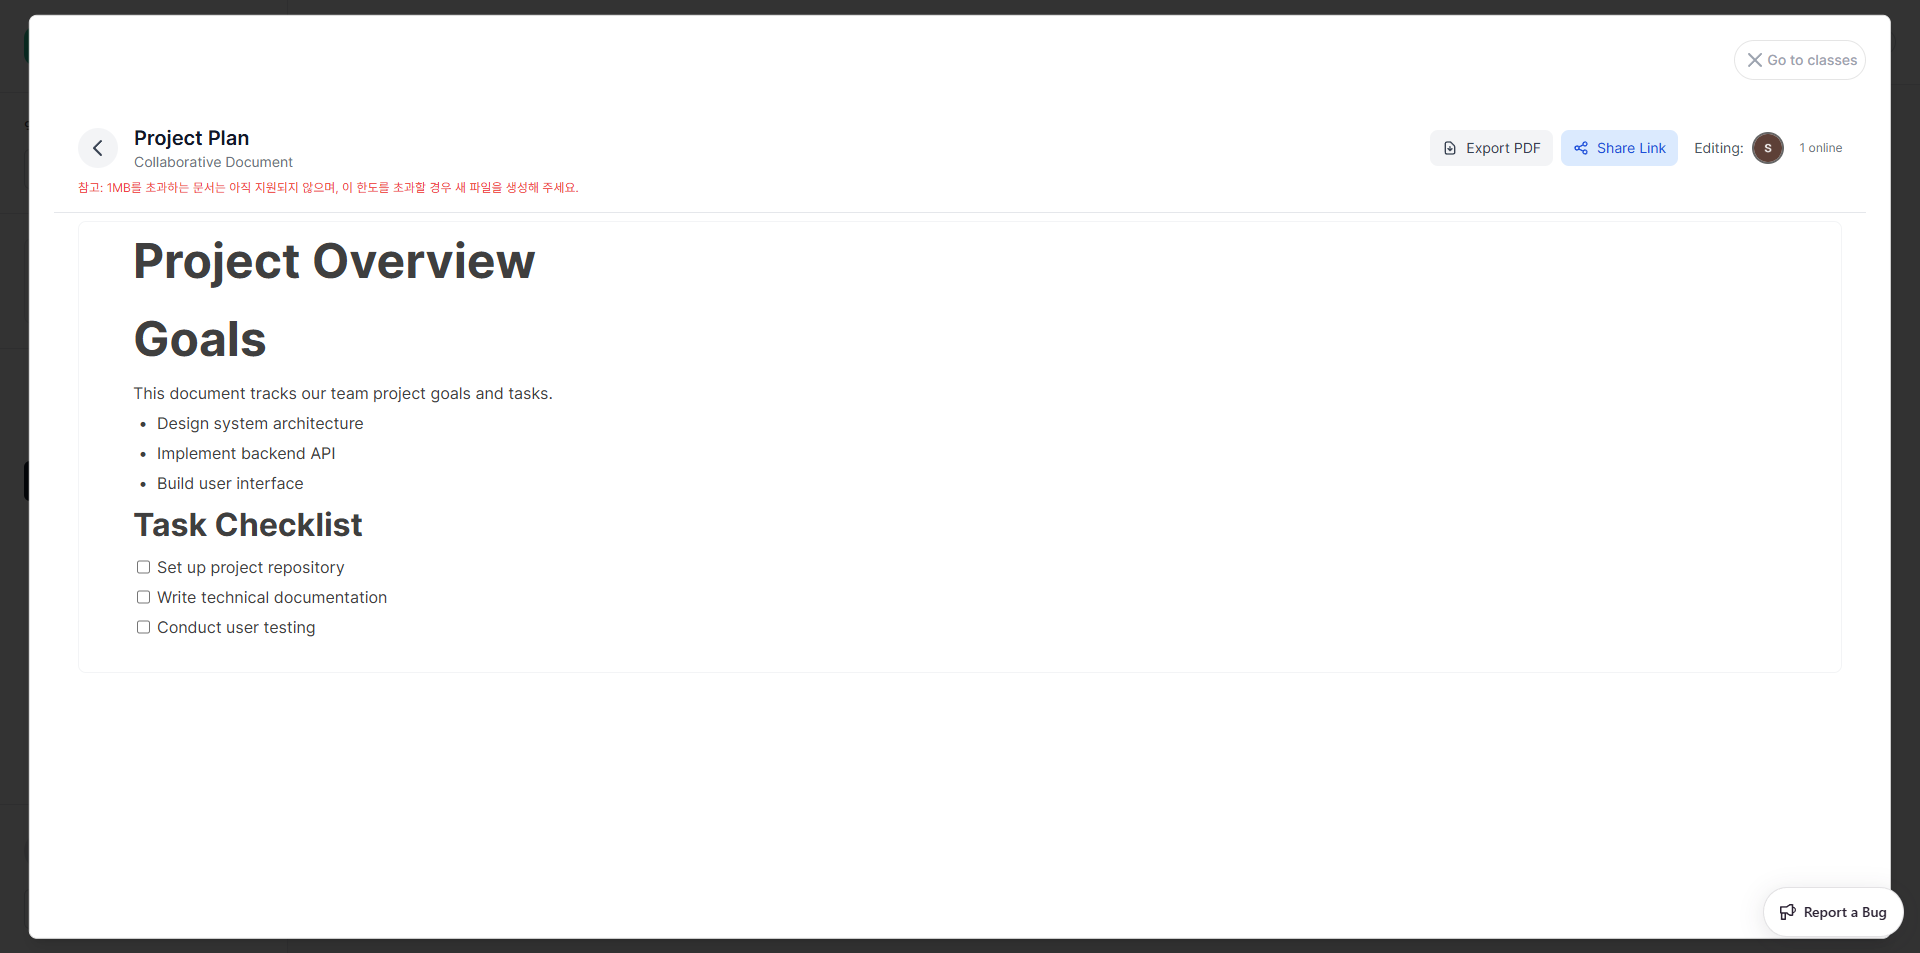
Documents
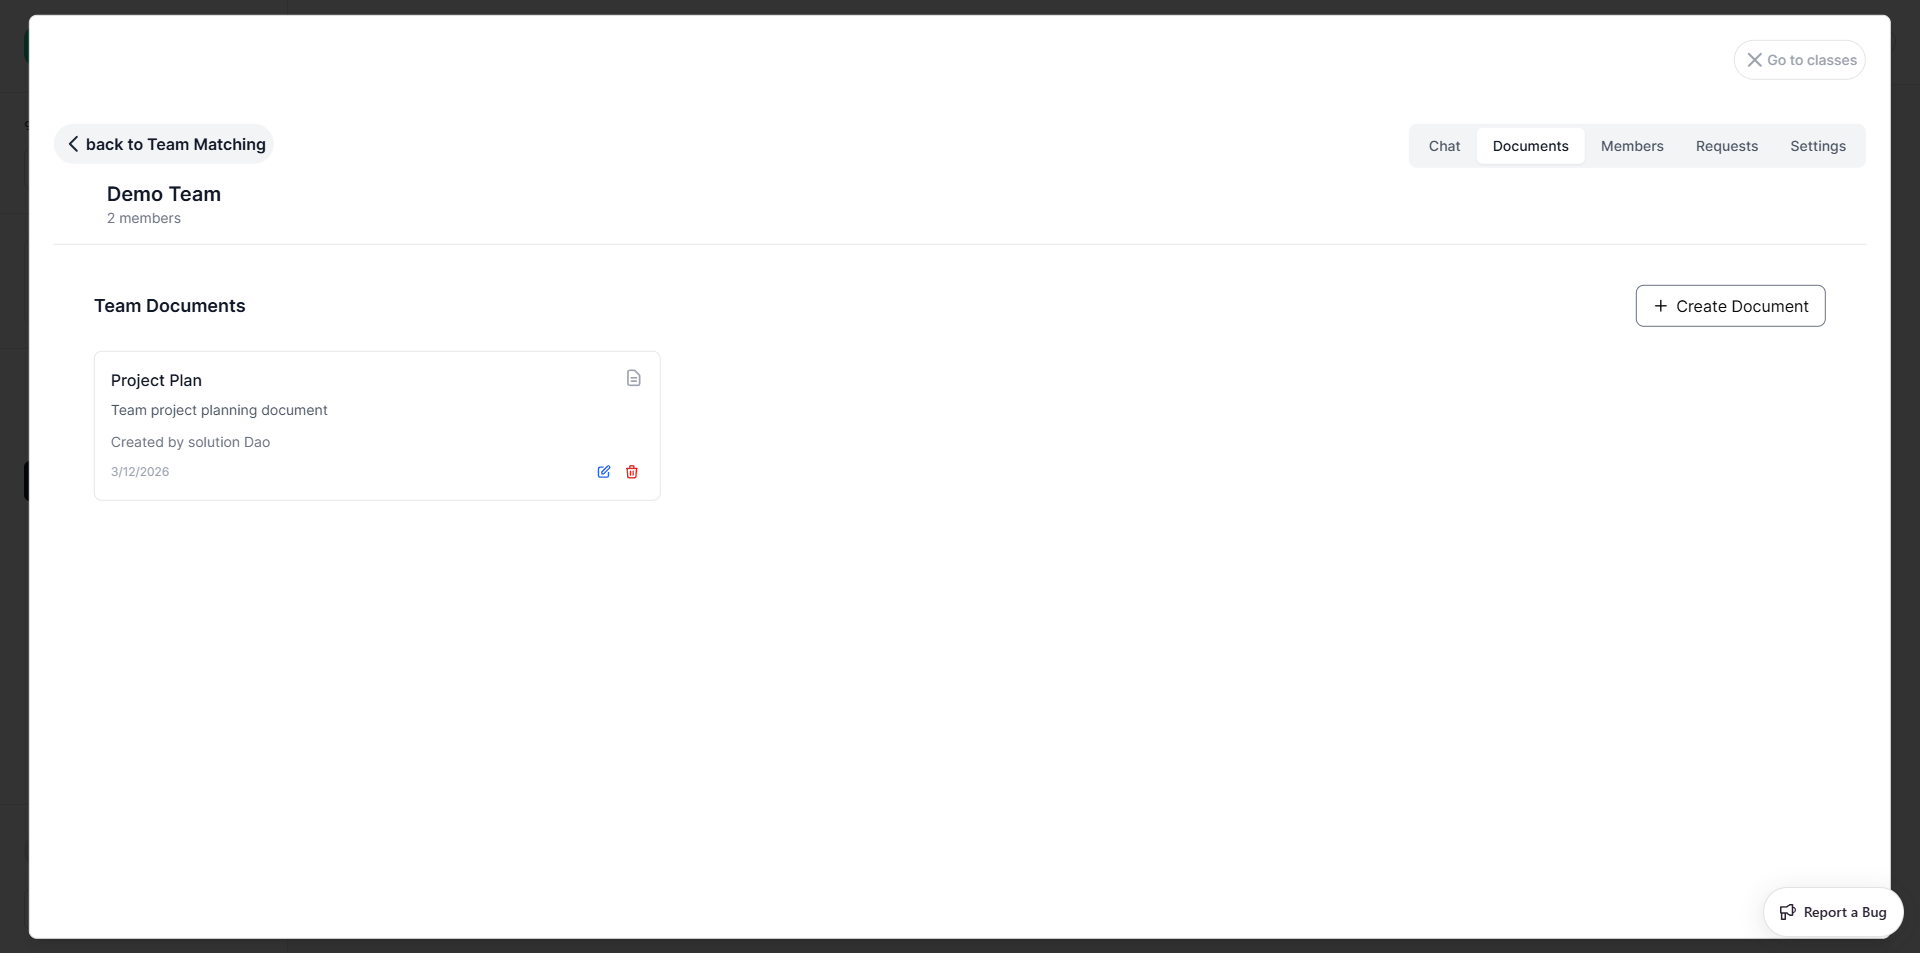
The Documents tab shows all shared team documents. Each card displays the document title, description, creator, and creation date. From here you can:
- Click a document card to open and edit it
- Click the edit icon (pencil) to rename or change the description
- Click the delete icon (trash) to remove it (leader only)
Creating a Document
- Click + Create Document (top-right)
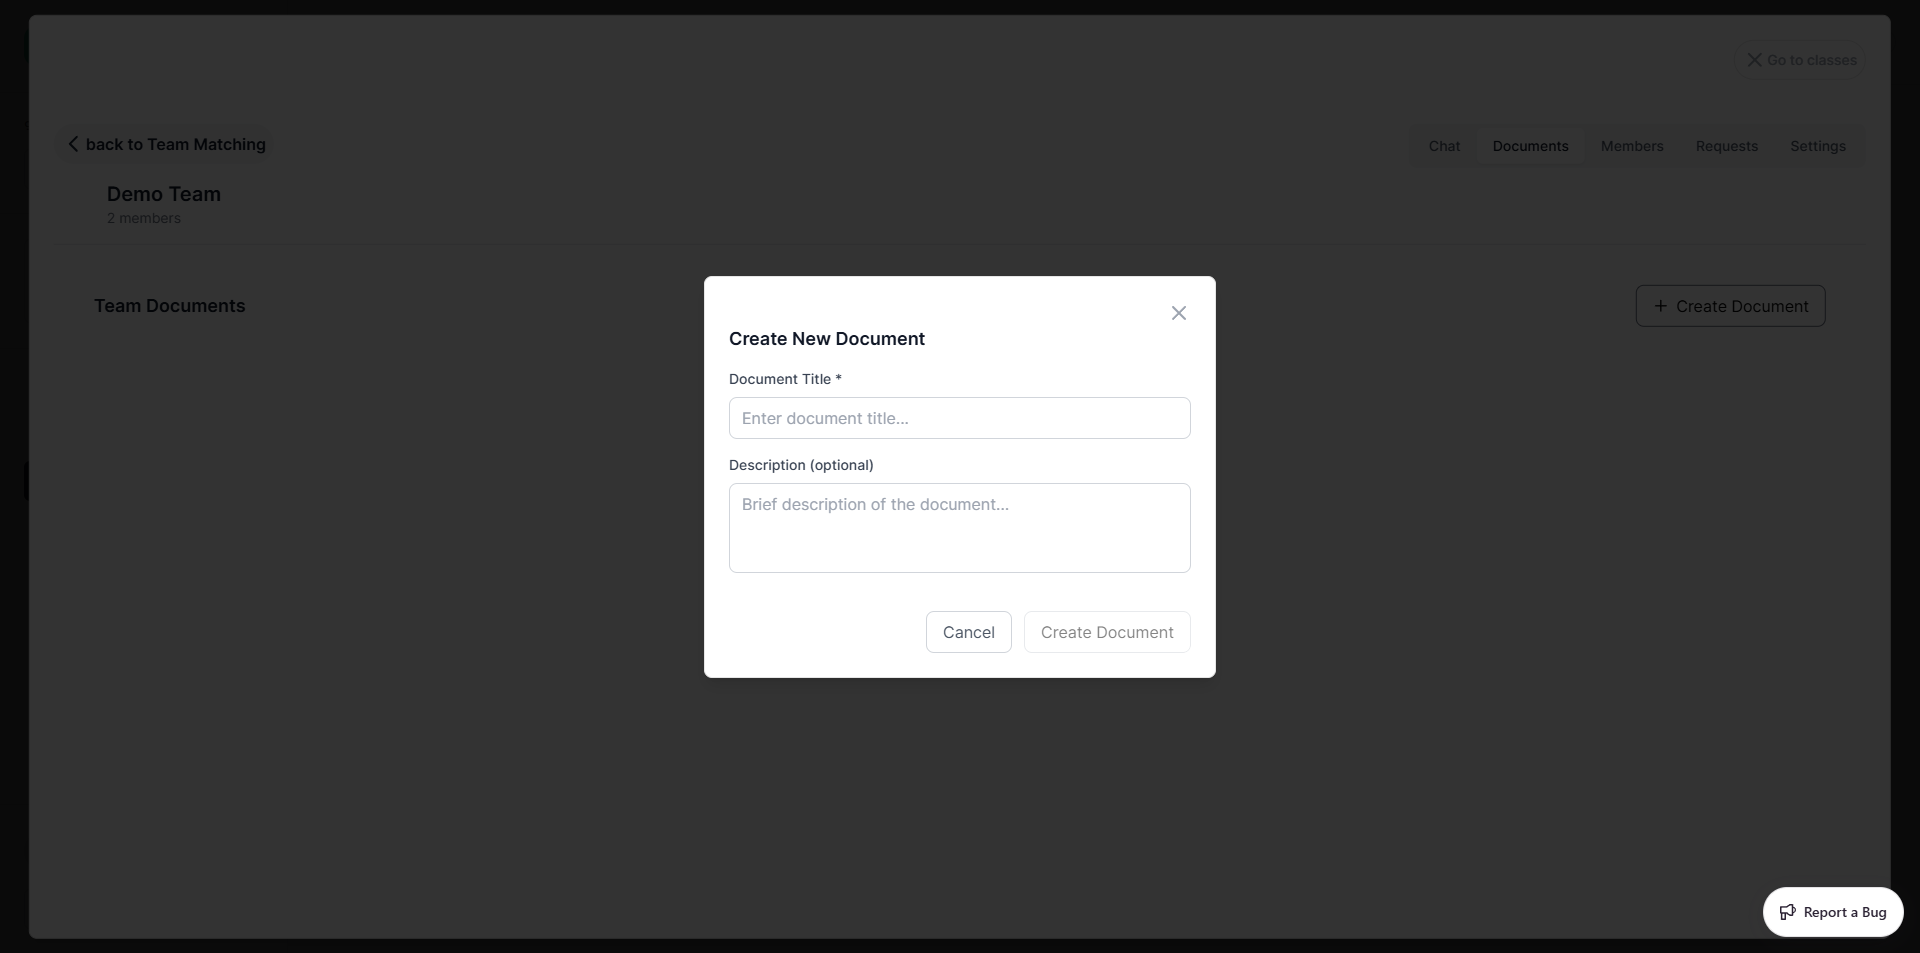
- Enter a Document Title (required) and optional Description
- Click Create Document — the editor opens immediately
Writing in the Document
The editor works like Notion — click anywhere and start typing. To insert a block, type / to open the slash command menu:
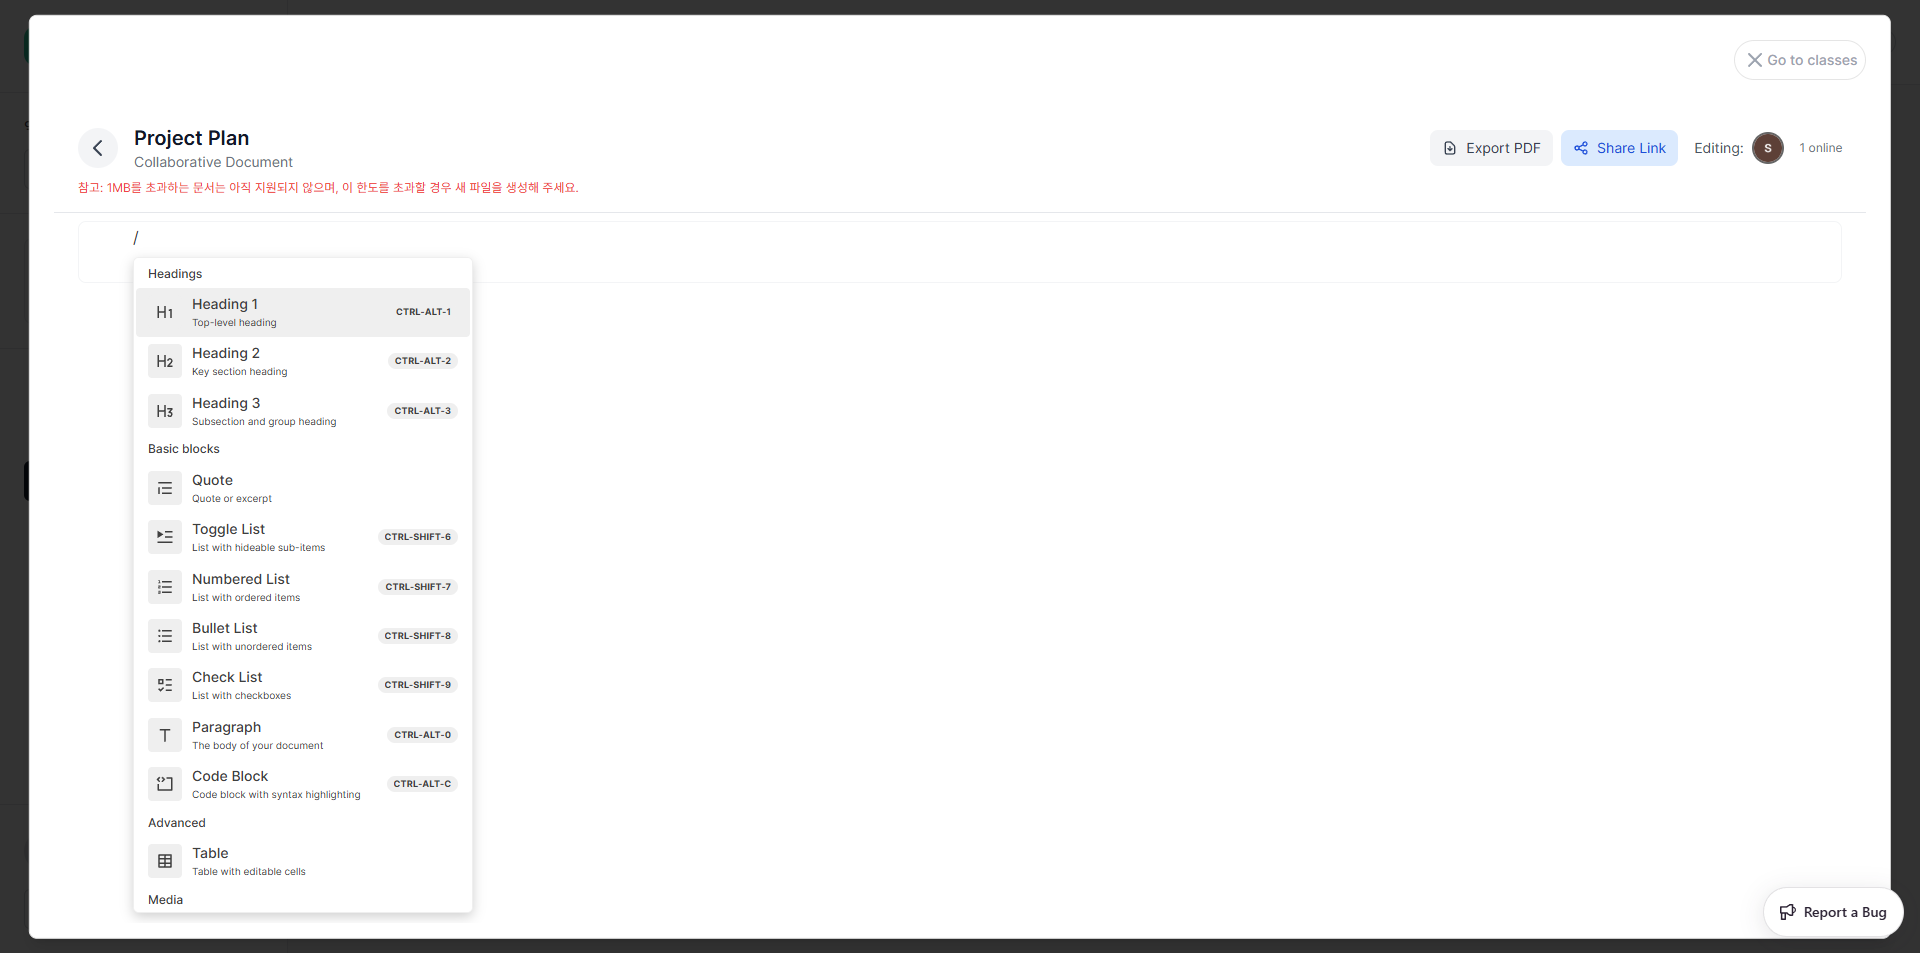
| Category | Blocks available |
|---|---|
| Headings | Heading 1 (Ctrl+Alt+1), Heading 2 (Ctrl+Alt+2), Heading 3 (Ctrl+Alt+3) |
| Basic | Paragraph, Quote, Bullet List (Ctrl+Shift+8), Numbered List (Ctrl+Shift+7), Check List (Ctrl+Shift+9), Toggle List, Code Block |
| Advanced | Table |
| Media | Image, Video, Audio, File |
| Subheadings | Toggle Heading 1 / 2 / 3 |
| Others | Emoji |
Inline formatting — select any text to reveal the formatting toolbar:
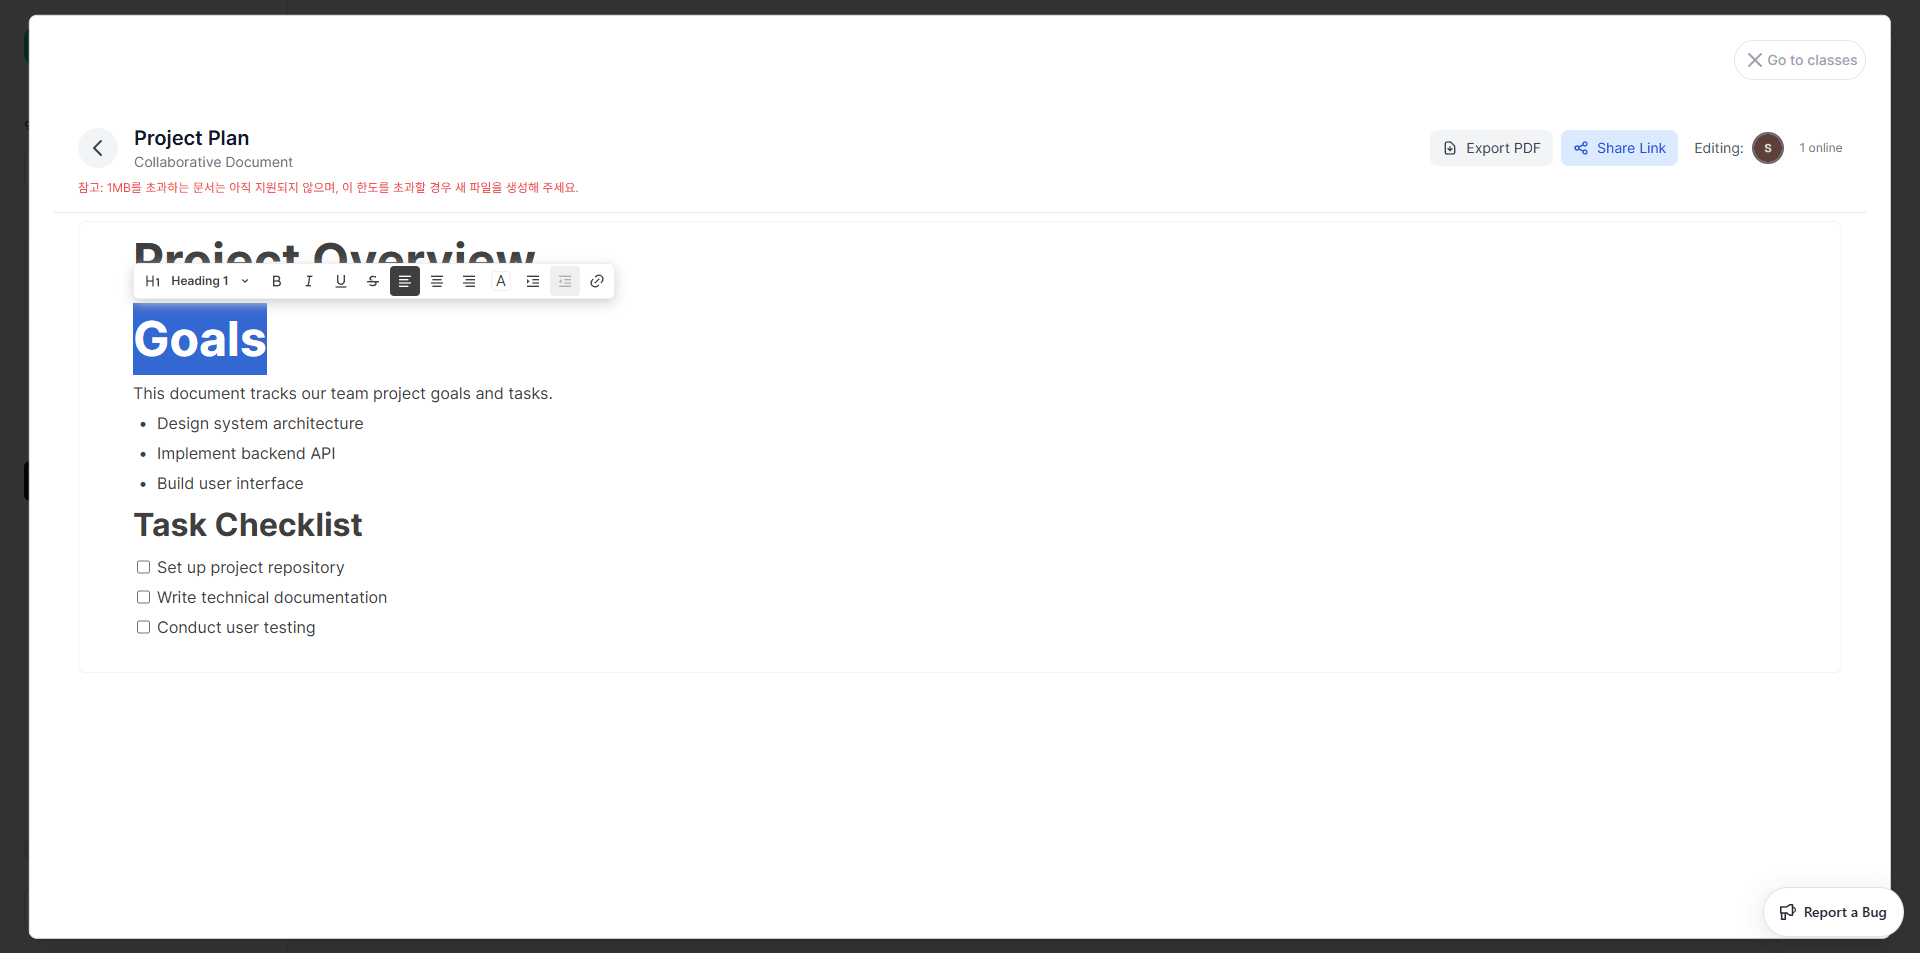
The toolbar lets you change the block type, apply Bold, Italic, Underline, Strikethrough, text alignment, text color, and insert links.
Exporting and Sharing
- Export PDF — downloads the document as a PDF file
- Share Link — generates a shareable link to the document
INFO
Documents larger than 1 MB are not yet supported. If you reach the limit, create a new document to continue.
Members
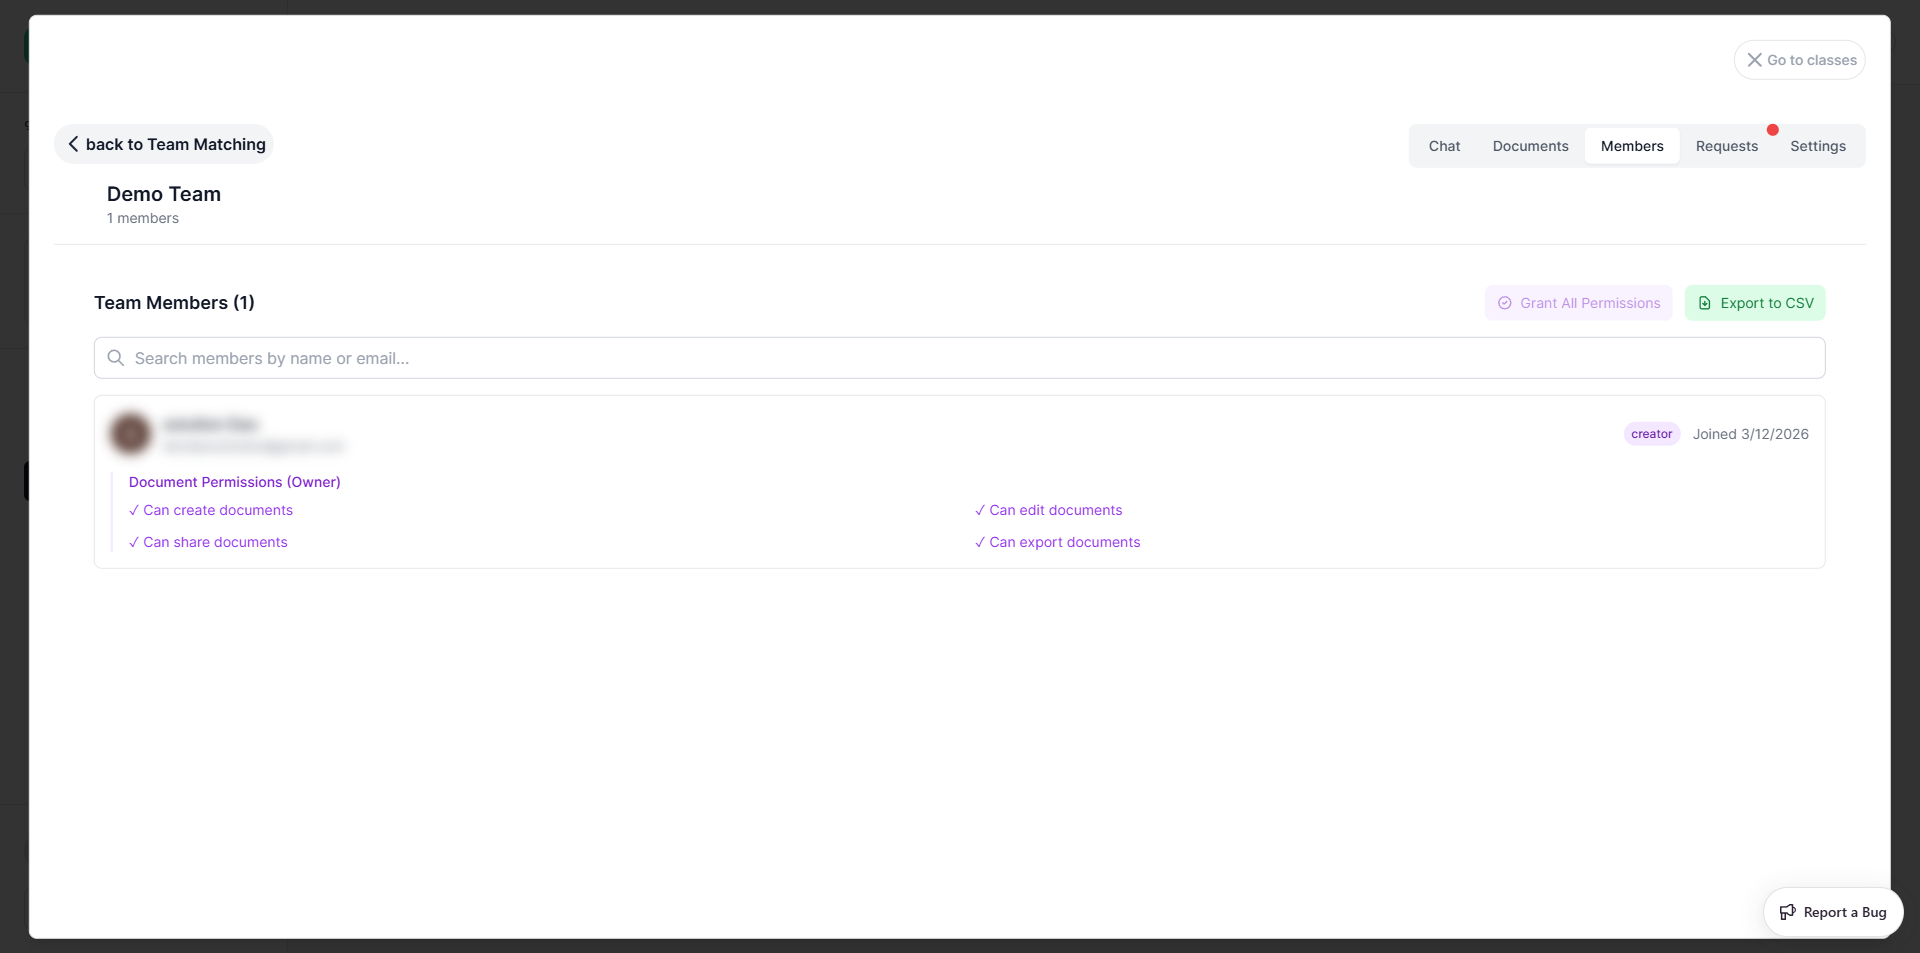
The Members tab lists all team members with their role and document permissions.
| Column | Description |
|---|---|
| Name / Email | Member identity |
| Role badge | creator or member |
| Joined date | When they joined |
| Document Permissions | Create / Edit / Share / Export |
Leaders can use Grant All Permissions to give all members full document access, or Export to CSV to download the member list.
Requests (Leader only)

The Requests tab is only visible to the team leader. It shows all pending join requests.
For each request you can:
- Click Accept to approve the member — they are immediately added to the team
- Click Reject to decline
- Click Accept All to approve all pending requests at once
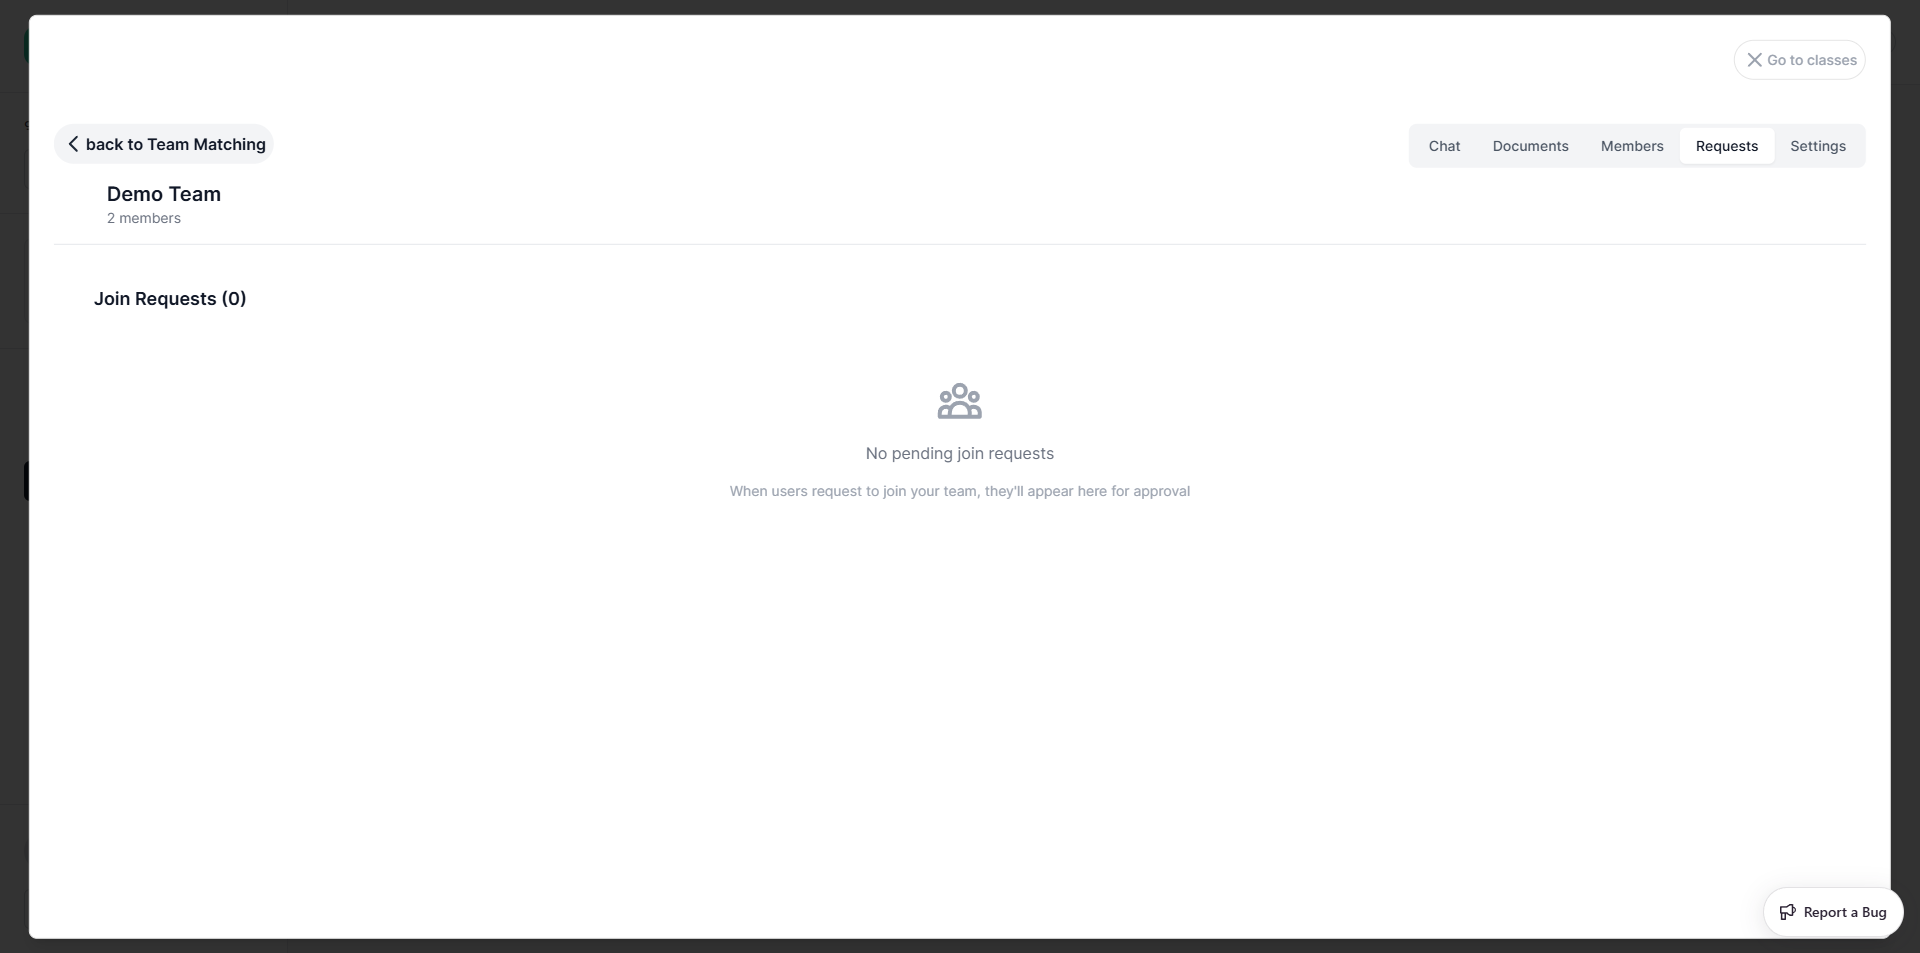
Once accepted, the member count updates and the request is removed from the list.
Settings (Leader only)
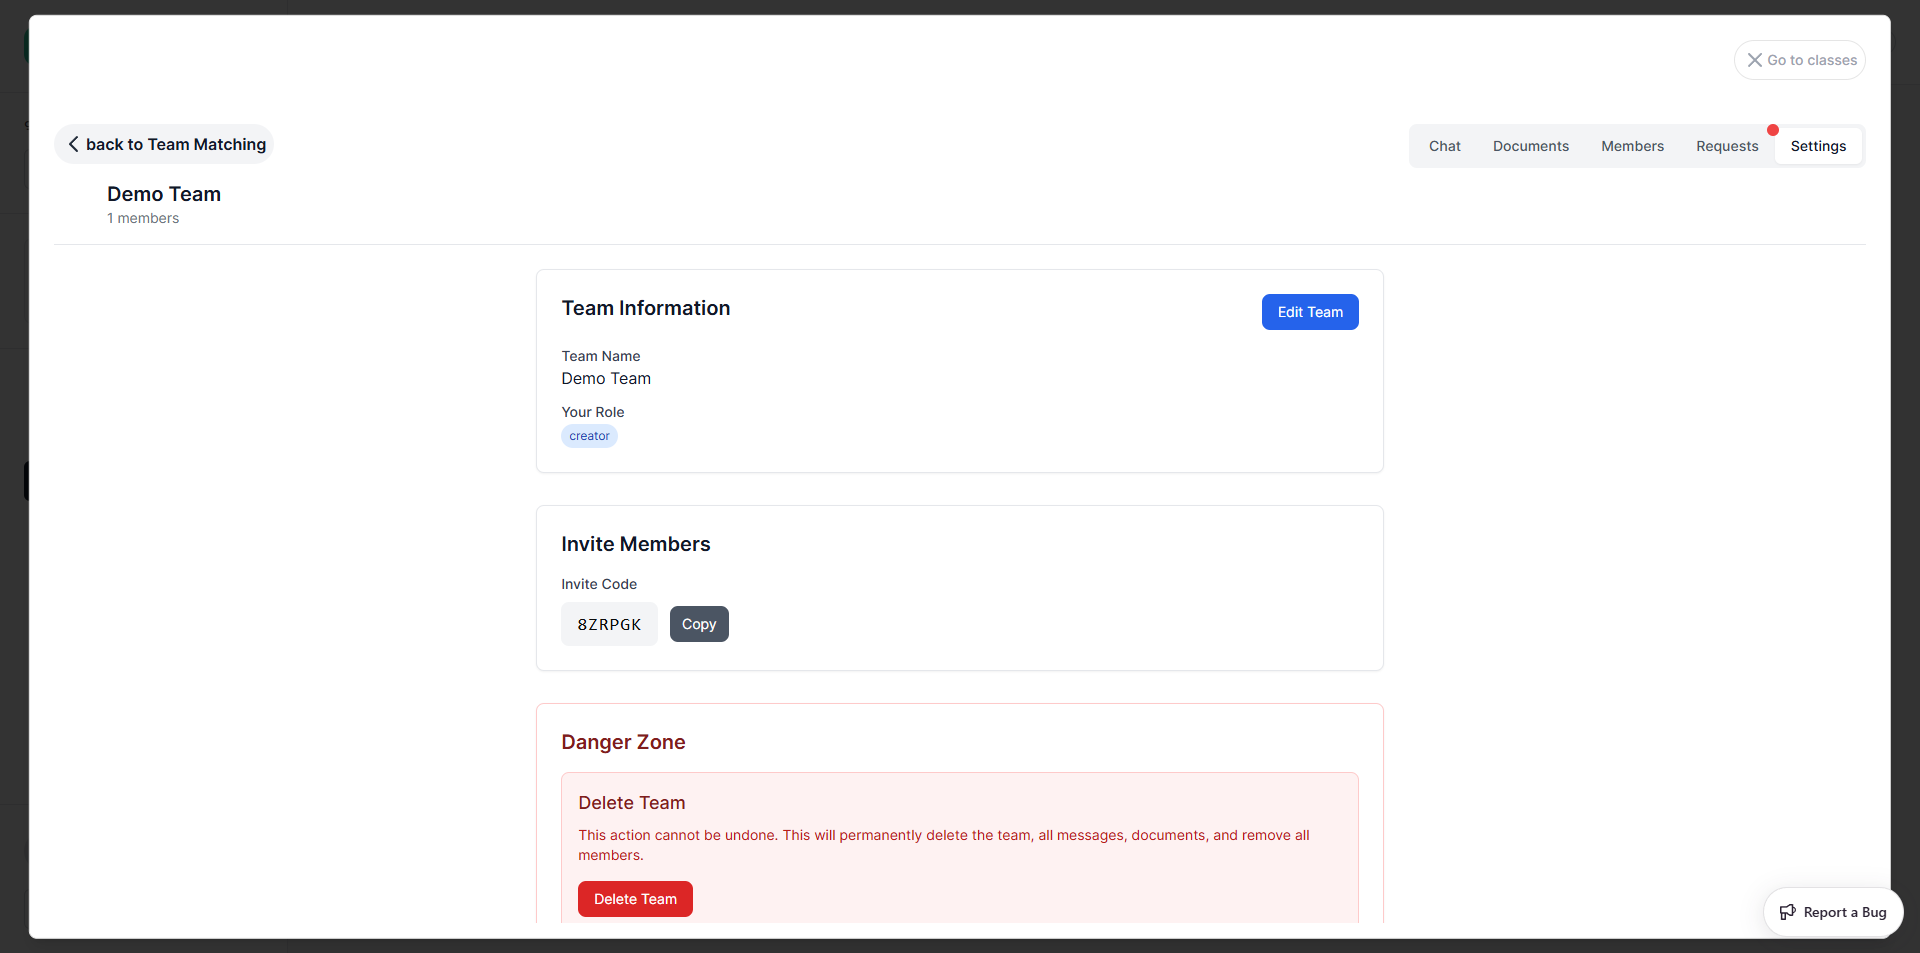
The Settings tab has three sections:
Team Information
- Shows the team name and your role
- Click Edit Team to update the name or description
Invite Members
- Displays the 6-character Invite Code — share this with people you want to invite
- Click Copy to copy the code to clipboard
Danger Zone
- Delete Team — permanently deletes the team, all messages, documents, and removes all members. This action cannot be undone.
Going Back to Classes
Click Go to classes (top-right corner of the panel) to return to the class list.
→ Next: Profile Settings